Island Prints for Kids' Rooms: A Beginner's Guide to Playful Coastal Decor
Most children's rooms end up with the same three ingredients: a bed, a great deal of plastic, and a wall that stays blank for years because nobody can decide what to put on it. Island prints are an easy answer. They are cheerful without being babyish, they carry a bit of story, and they can be added to, rearranged, or moved to another room as your child grows. What follows covers the decisions that actually matter: which themes hold attention, how to frame safely, and how to plan a wall that still works when your toddler turns into a nine-year-old with opinions.
Start with an island a child can point at
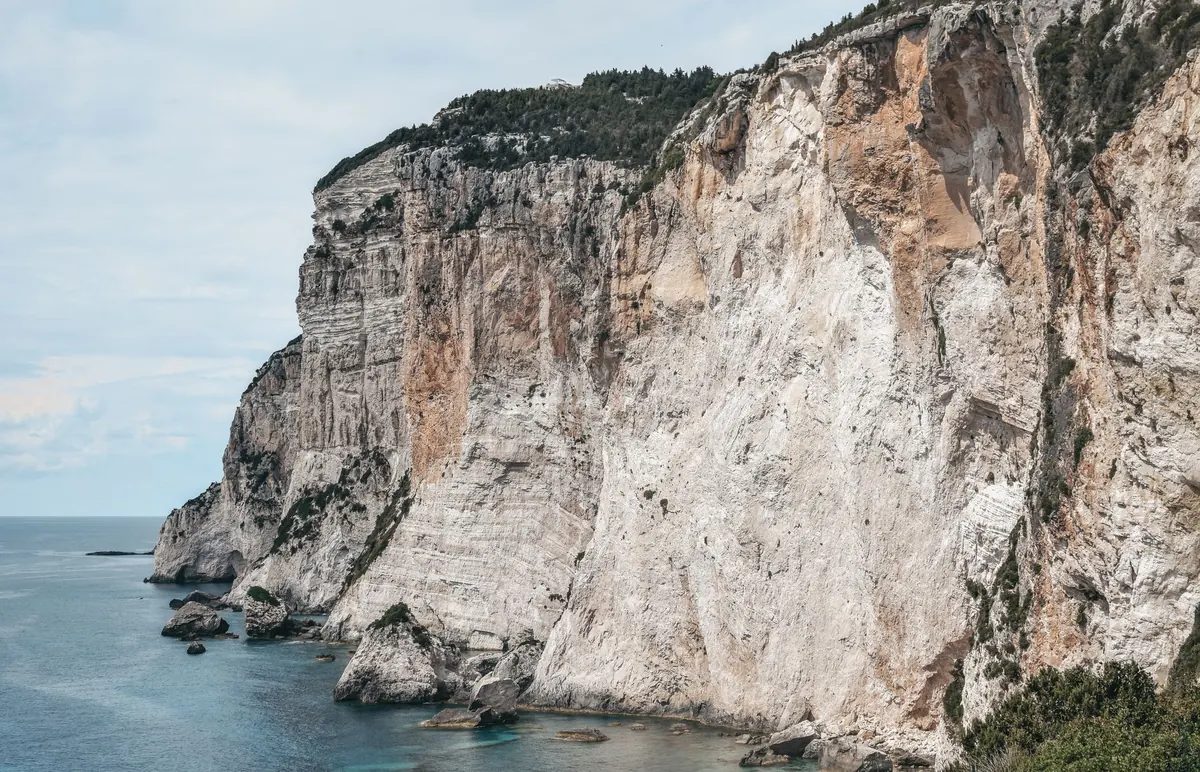
A generic beach scene is wallpaper. A print of a specific harbour becomes a conversation. Children attach to places they can name: the ferry they take every August, the grandmother's town, the beach where they first swam without armbands. If your family has a connection to Elba, Favignana or the Aeolian Islands, that is your starting point, and the print will mean something long after the nursery colours have been painted over.
It doesn't have to be a family place. A striking island — the black sand and volcano silhouette of Stromboli, the salt pans outside Trapani, the pastel waterfront of Procida — gives a child something to ask about. "What is that boat?" is a better bedtime question than "what colour is that?"
Practical trick: narrow the choice to three prints you genuinely like, then let your child pick the final one. They get agency, you avoid the unicorn-and-palm-tree situation you'd have chosen differently, and the print gets looked after because it was theirs.
Themes that survive past the age of four
Themes age badly when they're too literal. A cartoon dolphin on a surfboard will feel babyish by the time your child starts school. The themes below tend to hold up because they're drawn rather than illustrated, and because they reward a closer look.
Maps and coastlines
A simple outline of an island, or a single-line coastline, is the most flexible thing you can hang. It works with any colour scheme, it doesn't date, and it invites the "where do we live on this?" conversation. Look for prints with a light touch: too many place names crammed onto an A4 sheet become unreadable mush at a metre's distance.
Sea life, drawn well
Octopus, sea urchins, tuna, loggerhead turtles, the unmistakable shape of a prickly pear or a caper bush in flower. Choose prints where the animal is observed rather than smiling. A good linocut octopus will outlast a hundred cartoon fish.
Boats, nets and harbour clutter
Fishing boats, gozzi, buoys, coiled rope, a small lighthouse, the stack of crates on the quay. This is where island prints earn their keep, because the details are what children notice. These are also the prints that tend to be well made, since harbour scenes attract printmakers rather than merchandise designers.
Texture and process
Risograph, screen print and linocut all have a slight imperfection that reads as warmth on a bedroom wall. A flat digital print on glossy paper tends to look thin by comparison, especially under a plain white mount.
- Safe bets: coastlines, sea life, boats, lighthouses, island produce.
- Risky: anything with a character licence, seasonal slogans, or a colour so specific it only works with one duvet cover.
- Worth trying: a small print of a place your child has actually visited, hung at their eye level.
Colour, scale and the squint test
Two things make a child's wall look calm rather than chaotic. The first is restraint in colour: pick a palette of roughly three colours and stay inside it, even across a set of six prints. The second is size. One bold A2 print above the bed reads better than five small ones scattered at random, and it costs less to frame.
Before you commit, stand three metres back from the print. Squint. If you can still tell what it is, the shapes are strong enough for a room where the light is often low and the viewer is often lying down. Prints that only make sense close up belong in a cluster near the changing table, not across the room.
One small caution about pastels: they photograph beautifully and disappear on a real wall. Children respond to strong colour, and a bright turquoise or deep ochre will keep working when the pale pink phase ends.
Safe framing in a room where things get thrown
This is the part most buying guides skip, and it matters more than the print itself. General principles worth following:
- Skip glass near small children. Use acrylic or styrene glazing instead, or hang the print unframed in a wooden poster hanger or on a clipboard. Glass over a bed is a risk you don't need to take.
- Nothing heavy above the cot. Keep that zone clear, and hang art on the opposite wall or well to the side.
- Fix into something solid. Two fixings are better than one, and a frame bigger than A3 should go into a stud or a proper wall anchor. If you rent and aren't sure what's behind the plaster, ask your landlord or someone qualified before drilling.
- Mind the weight rating. Adhesive strips work well for light frames on smooth paint, but choose a rating comfortably above the frame's weight and check it after a month.
- Keep blind and curtain cords out of reach, and don't run a picture cord anywhere a child can loop it.
On style: a thin natural-wood or plain white frame with a generous white mount (passepartout) makes an inexpensive print look considered. Have it dry-mounted to stop the paper rippling, and write the island name and the date on the back — in ten years you'll be glad you did.
Layouts that grow with the room
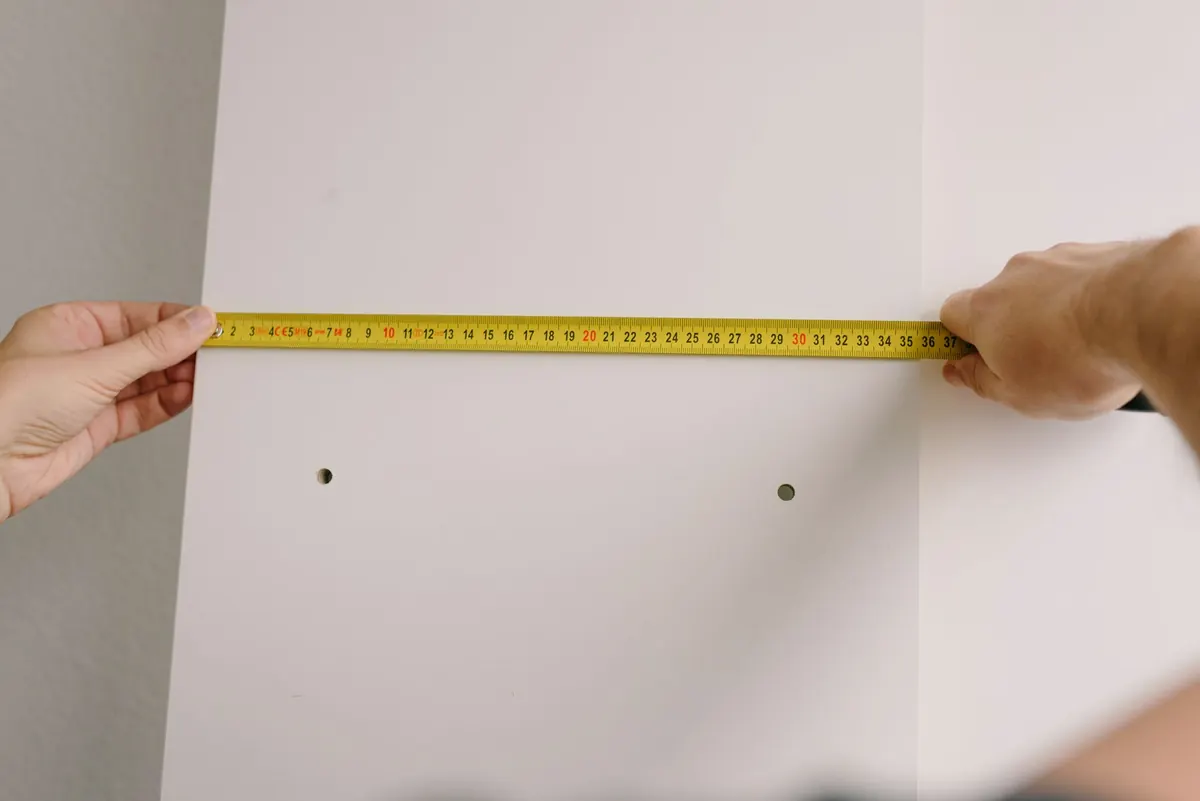
A single print hung at about 100 to 110 centimetres from the floor puts it roughly at a small child's eye level, where it can actually be looked at rather than admired from below. That height also happens to work for a reading nook later.
For a bigger wall, plan in zones rather than one frozen composition. A two-by-two grid of matching frames with 5 centimetre gaps is easy to extend to six or eight frames as your child collects more. If you'd rather not commit to holes, a picture ledge is the most forgiving option in a child's room: prints lean, and you can swap them in thirty seconds when a favourite changes.
Scale art to the furniture underneath — roughly two-thirds the width of the bed is a reliable guide — and cut paper templates before drilling anything. Tape them up, leave them for a week, and see what annoys you. Most hanging regret happens in the first five minutes; the paper version costs nothing.
A weekend plan for a blank wall
Pick one island your family can name, and choose a single print at A2 or 50×70 centimetres. Order it with acrylic glazing rather than glass, or buy a poster hanger if the wall is above the bed. Hang it at 105 centimetres to the centre, using two fixings, and leave the top third of the wall empty — that's the space you'll fill with a second print, a map, or a framed drawing of theirs in about a year. Add a small clipboard or magnetic strip at their height so their own island drawings can rotate in and out beside the grown-up ones. That's the whole plan, and the room will feel finished long before the rest of the house does.